


Raspberry pi is pocket sized computer cum microcontroller development board which has inbuilt Wi-Fi that makes it perfect candidate for IoT Applications. Installing Operating System is the first thing for getting started with Raspberry Pi. Although its very easy but sometimes people find difficult to install it properly. In this tutorial we will discuss how to install an operating system in Raspberry Pi. The official and most popular operating system for Raspberry is Raspbian but there are also other third party operating systems like: Ubuntu MATE, Windows 10 IoT Core etc. So in this session, we will install Raspbian in Raspberry Pi.
There are two ways to install Raspbian operating system:
- Burning the OS image directly into SD card
- Installing Raspbian using NOOBS
1. Burning the OS image directly into SD card
Here we install Raspbian operating system in our raspberry Pi using Etcher software. Etcher completes the whole process of flashing an OS image file into three simple steps: Select Image, Select Drive, and Flash Image. So to install Raspbian operating system using Etcher software we will follow these simple steps:
Step 1: Download your OS image
Download a copy of the latest Raspbian image from the Downloads page from Raspberry Pi’s official website ( https://www.raspberrypi.org/downloads/ ).
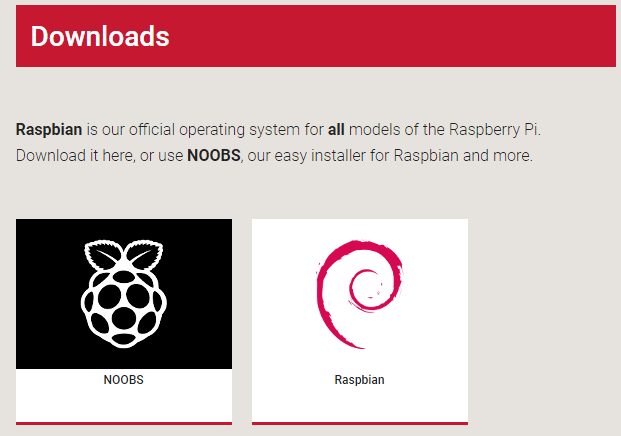
On this website click on Raspbian. By clicking on Raspbian you will get these 3 options
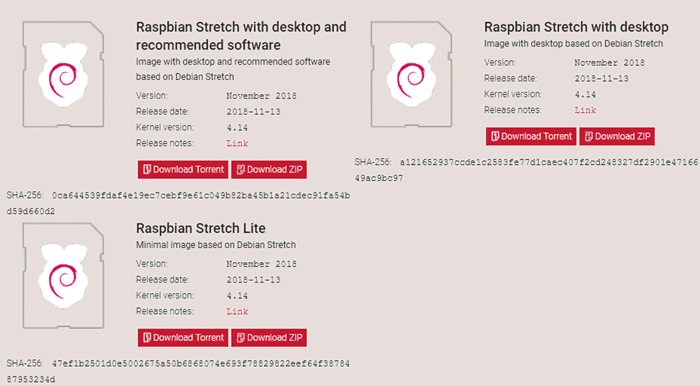
From these three options you can choose any one according to your requirement. Here I am downloading Raspbian stretch Lite Zip file.
After downloading this zip file unzip it using WinRAR or any other software. In Windows, right-click the file and choose Extract All. Etcher can install directly from a ZIP file, but the process takes a lot longer.
Step 2: Download Etcher
balenaEtcher is a free and open-source utility used for burning image files such as .iso, .img files and zipped folders to create live SD cards and USB flash drives. In this tutorial we are using balenaEtcher to burn our Raspbian operating system on our SD card.
You can download Etcher from its official website (https://www.balena.io/etcher/ ).
It will automatically detect your operating system or you can choose it manually.
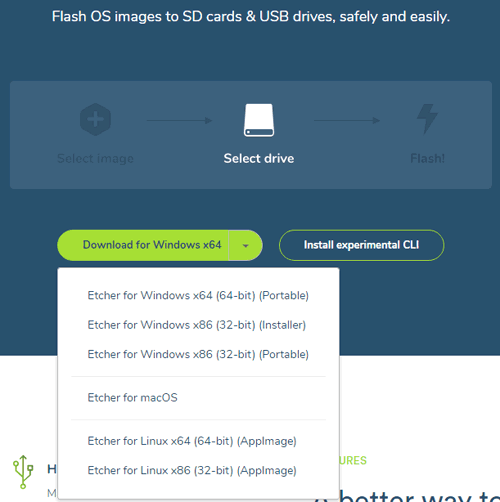
After selecting the operating system click on Install experimental CLI button and select Etcher CLI for windows 64 bit (Mine is windows 64 bit, you can select according to your operating system) and it will start downloading.
After download install it and open it.
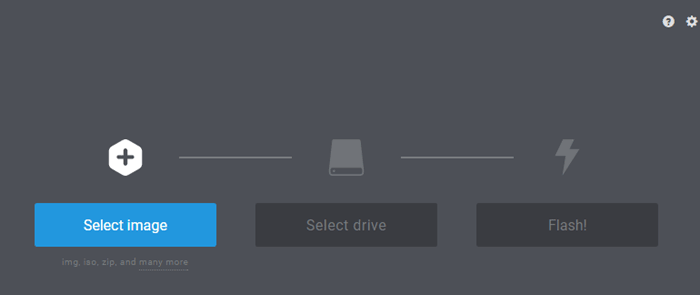
Etcher installs operating system in three steps, so first step is select image. To select image file click on Select Image in Etcher. Use the file manager window and locate the image you unzipped in the previous step. Click Open and then the image will appear under Select Image.
Step 3: Insert your SD card
Now after downloading image file & Etcher and selecting the image file, attach your SD card to the computer using SD card reader. Etcher will detect it automatically. Etcher won’t write to your hard drives by default. Now click Flash to write the image file to the SD card.
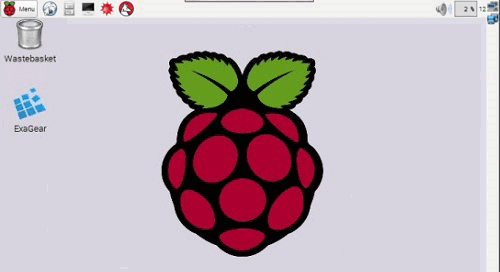
Etcher will format the SD card, before writing and verifying the image; this is indicated by a progress bar. After completing this process, remove your SD card from your laptop and insert it into your Raspberry Pi, and power it up. You will see desktop of raspbian installed Raspberry Pi.
You can flash another SD card with the same image, for this insert your SD card and repeat the same process.
2. Installing Raspbian using NOOBS
NOOBS stands for New Out Of the Box Software. You can purchase a pre-installed NOOBS SD card from retailers, such as Pimoroni, Adafruit and The Pi Hut, or you can download NOOBS and install it in your SD card. NOOBS is an easy operating system installer which contains Raspbian and LibreELEC. NOOBS also have many other alternate operating systems which we can select to download and install.
Step 1 Download the NOOBS zip file
NOOBS is available for download on the Raspberry Pi’s official website (https://www.raspberrypi.org/downloads/noobs/ ).
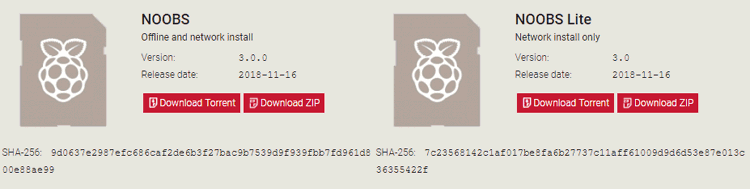
From here you can download NOOBS or NOOBS Lite. Once you've downloaded the NOOBS zip file, you'll need to extract the files from NOOBS Zip file and copy the contents to a formatted SD card on your computer.
Step 2 Format Your SD Card
How to format an SD card
For Windows and MAC users, you should format your SD card using the SD Association's Formatting Tool, which can be downloaded from sdcard.org. (https://www.sdcard.org/downloads/formatter_4/ ).
This will be downloaded in Zip file, so you have to extract it and install it.
After installing this you have to select card and formatting option. In formatting option always select quick format.
Step 3
After formatting SD card, copy extracted NOOBS file to your SD and after copying files eject your SD card.
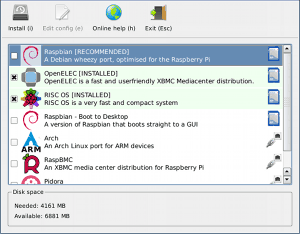
Now insert your SD card and power up your Raspberry Pi. Connect your Raspberry pi to Ethernet. When Raspberry Pi turns on you have to select Raspbian install on the top left and click on Yes to confirm it.
After this it starts installing. This process can take 20 to 30 minutes.
After installing the OS reboot your system and your OS will be ready to use.


