


A wide range of MQ sensors is available in the market that can measure Methane, Butane, LPG, smoke, Alcohol, Ethanol, Carbon Monoxide, Hydrogen Gas, Ammonia, etc. These sensors are widely used in Smoke Detection, Gas Detection, and Air Quality Monitoring systems. Among which we previously used the MQ4 gas sensor in the Food monitoring system and MQ135 in the Air Quality monitoring system.
Today we will use the MQ-5 sensor to build an LPG Leakage Detector using ESP8266-01. The ESP8266 will be programmed using the Arduino Uno, and after uploading the program, ESP8266 will be interfaced with the MQ-5 sensor. Here it will use IFTTT Webhooks to send Email warnings whenever the Gas sensor detects the LPG Gas.
Components Required
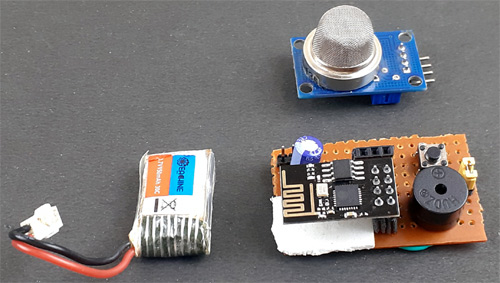
- ESP8266-01
- MQ-5 LPG Gas Sensor
- Voltage Regulator (AMS1117)
- Capacitor (47µf and 0.1µf)
- Push Button
- Lithium Polymer battery
Programming ESP8266-01 Using Arduino Uno
Instead of using the FTDI board, here I am using Arduino Uno to program the ESP8266-01. To Program ESP8266-01 using Arduino Uno make a circuit as per the given diagram.
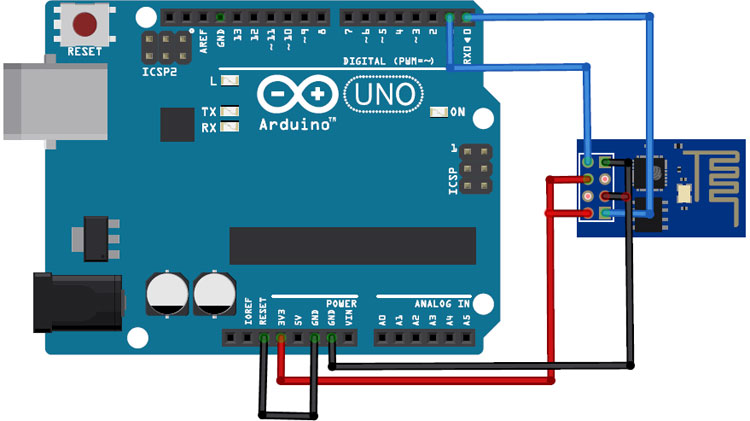
Connect the VCC and GND of ESP8266 to 3.3V and GND of Arduino, then connect CH_PD to 3.3V and GPIO_0 to GND of Arduino. Also, connect RX and TX of ESP8266 to RX & TX of Arduino Uno respectively. GPIO_0 is grounded to enable the programming mode of ESP8266. After making the circuit as per the diagram connect the Reset pin of Arduino to GND to bypass the Arduino. It will disable Arduino and upload code directly to the ESP8266 board.
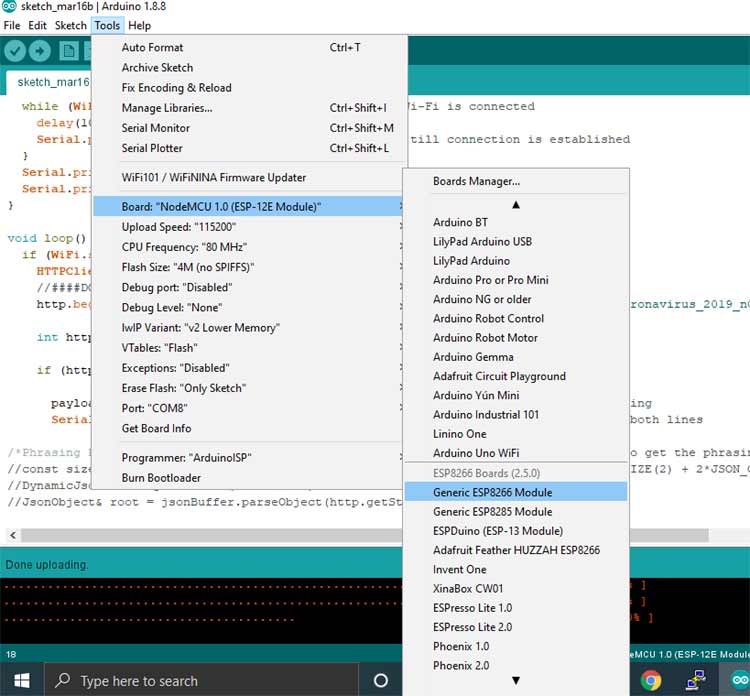
Now power up the Arduino Uno and open the Arduino IDE. Select the “Generic ESP8266 Module” inboard type and upload the code.
LPG Leakage Detector Circuit Diagram
After uploading the code, remove the Arduino Uno and connect the MQ-5 gas sensor with ESP8266 as per the diagram. This system will work as an LPG leakage detector.
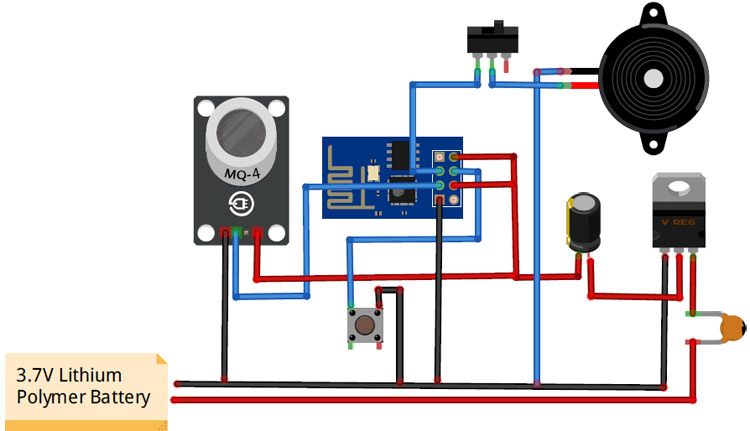
VCC and CH_PD pins of ESP8266 are connected to the output pin of AMS1117 while the GND pin is connected to –ve rail of battery. The reset pin of ESP8266 is connected to GND through a push-button. MQ-5 sensor is connected to the GPIO2 pin of ESP8266. The positive rail of the buzzer is connected to GPIO 0 of ESP8266 through a switch.
This complete setup will be powered by the Lithium polymer Battery. The AMS117-3.3V is used to regulate 3.3V for the ESP8266-01 board.
Here we have built a small module using ESP8266-01 on perf board which can also be used in other projects:

IFTTT Setup LPG Gas Leakage Detector
Here we are using IFTTT to send Email warnings when the MQ-5 gas sensor detects the LPG gas. IFTTT (If This Then That) is a web-based service by which we can create chains of conditional statements, called applets. Using these applets, we can send Emails, Twitter, Facebook notifications. We previously used IFTTT to build many IoT based projects using IFTTT.
To use the IFTTT sign in to your IFTTT account if you already have one or create an account.
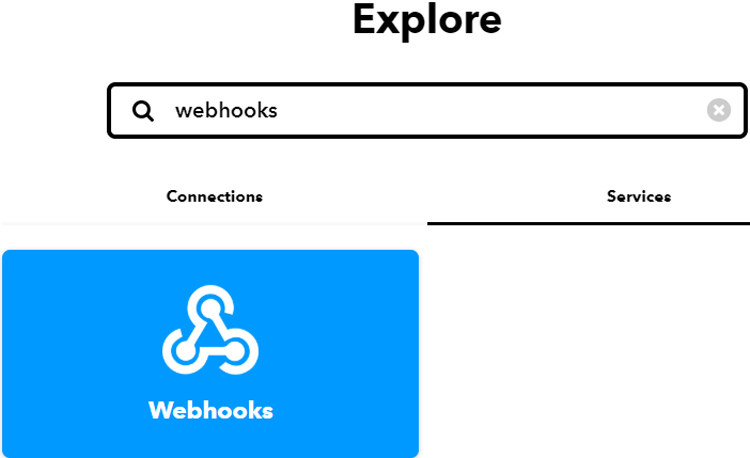
Now search for ‘Webhooks’ and click on the Webhooks in Services section.
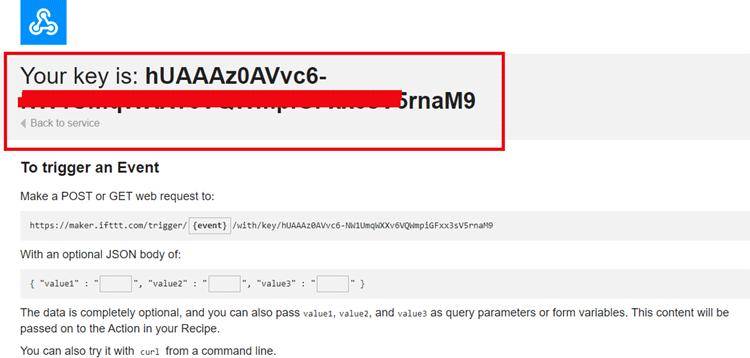
Now, in the Webhooks window, click on ‘Documentation’ in the upper right corner to get the private key.
Copy this key. It will be used in the program.
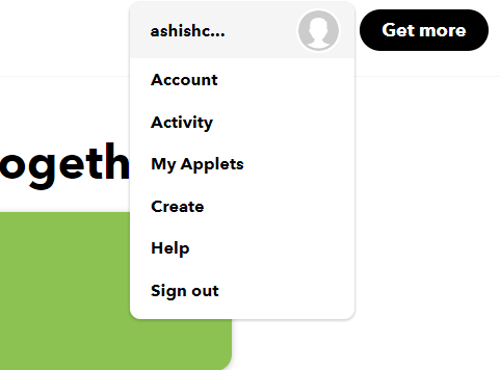
After getting the private key, now create an applet using Webhooks and Email services. To create an applet, click on your profile and then click on ‘Create.’
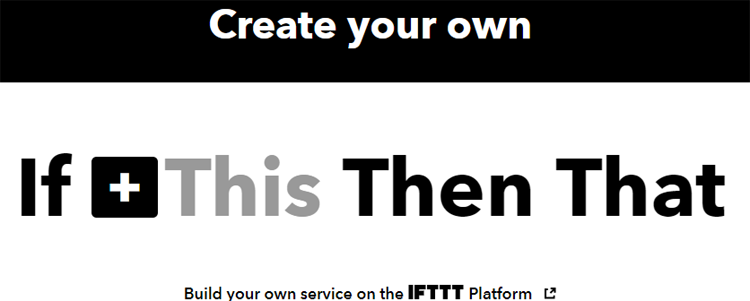
Now, in the next window, click on the ‘This’ icon.
Now search for Webhooks in the search section and click on ‘Webhooks.’

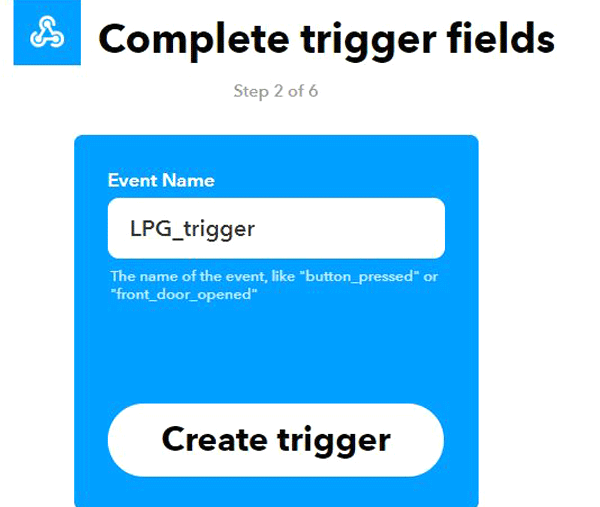
Now choose ‘Receive a Web Request’ trigger and in the next window, enter the event name as LPG_event and then click on create trigger.
After this, click on ‘Then That’ and then click on Email.
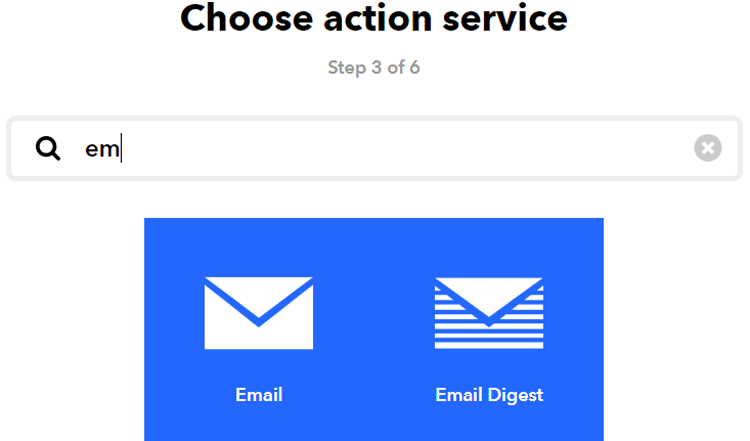
Now in Email, click on ‘send me an email’ and enter the email subject and body and then click on create action.
Code Explanation
Program for IoT based LPG Gas Detection System is very easy as we only need to read the MQ-5 sensor data using the GPIO2 pin of ESP8266-01.
Complete code is given at the end of the page. Here we are explaining important parts of the code.
Start your code by including all the required libraries.
#include <ESP8266WiFi.h>
After that enter your Wi-Fi name and password.
const char *ssid =  "Galaxy-M20";     // Enter your WiFi Name
const char *pass =  "ac312124"; // Enter your WiFi Password
After that, define the ESP8266 pin where you connected the digital pin of Gas sensor. ESP8266 has only two GPIO pins, i.e. GPIO0 & 2.
const int sensorPin= 2;
Then enter the IFTTT hostname and Private Key that you copied from the IFTTT documentation page.
const char *host = "maker.ifttt.com";
const char *privateKey = "hUAAAz0AVvc6-NW1UmqWXXv6VQWmpiGFxx3sV5rnaM9";
Now inside the void loop, digitally read the MQ-5 sensor and if it detects the LPG gas then make the buzzer pin HIGH for one second and send a trigger mail using the IFTTT Webhooks services.
lpg = !digitalRead(sensorPin);
     Serial.print("Air:");
     Serial.println(lpg);
     if (lpg == 1)
     {
    digitalWrite(buzzer, HIGH);
     delay(1000);
    digitalWrite(buzzer, LOW);
     send_event("LPG_event");
}
Testing the LPG Gas Leakage Detector
After programming the ESP8266 using Arduino Uno, remove the Arduino and connect the MQ-5 Sensor to ESP8266. Here a Cigarette Lighter is used to check whether it is detecting the gas or not. Cigarette Lighters have Butane gas inside them, which can be read by the MQ5 sensor.
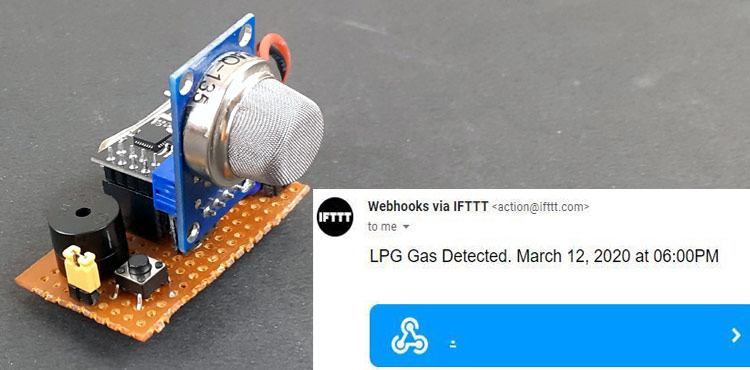
When the MQ-5 gas sensor detects the gas, ESP8266-01 triggers the buzzer and send a Warning mail using the IFTTT Webhooks.
A complete working video is given at the end of the page.
#include <ESP8266WiFi.h>
const char *ssid = "Galaxy-M20"; // Enter your WiFi Name
const char *pass = "ac312124"; // Enter your WiFi Password
const int sensorPin= 2;
const int buzzer= 0;
int lpg;
void send_event(const char *event);
const char *host = "maker.ifttt.com";
const char *privateKey = "hUAAAz0AVvc6-NW1UmqWXXv6VQWmpiGFxx3sV5rnaM9";
WiFiClient client;
void setup()
{
Serial.begin(115200);
delay(10);
pinMode(buzzer, OUTPUT);
Serial.println("Connecting to ");
Serial.println(ssid);
WiFi.begin(ssid, pass);
while (WiFi.status() != WL_CONNECTED)
{
delay(550);
Serial.print(".");
}
Serial.println("");
Serial.println("WiFi connected");
}
void loop()
{
lpg = !digitalRead(sensorPin);
Serial.print("Air:");
Serial.println(lpg);
if (lpg == 1)
{
digitalWrite(buzzer, HIGH);
delay(1000);
digitalWrite(buzzer, LOW);
send_event("LPG_event");
}
}
void send_event(const char *event)
{
Serial.print("Connecting to ");
Serial.println(host);
// Use WiFiClient class to create TCP connections
WiFiClient client;
const int httpPort = 80;
if (!client.connect(host, httpPort)) {
Serial.println("Connection failed");
return;
}
// We now create a URI for the request
String url = "/trigger/";
url += event;
url += "/with/key/";
url += privateKey;
Serial.print("Requesting URL: ");
Serial.println(url);
// This will send the request to the server
client.print(String("GET ") + url + " HTTP/1.1\r\n" +
"Host: " + host + "\r\n" +
"Connection: close\r\n\r\n");
while(client.connected())
{
if(client.available())
{
String line = client.readStringUntil('\r');
Serial.print(line);
} else {
// No data yet, wait a bit
delay(50);
};
}
Serial.println();
Serial.println("closing connection");
client.stop();
}


